
Last updated November 17, 2026
 Tile roofing
 Architectural shingles
 Metal roofing
 GAF
 Owens Corning
 Flat & low-slope
Free roof inspection with deck photos before we talk money - GAF and Owens Corning certified installation
Tile Roofing Troubleshooting: Common Problems and How to Fix Them
A cracked field tile on a well-installed tile roof is almost never the source of a leak. The tile is redundant. It sheds the bulk of the water and takes the sun, but the layers beneath it do the sealing. When water is getting into your house, it’s because something under or beside the tile failed, and replacing the visible crack without finding that is a wasted service call. We’ve pulled plenty of cracked tiles in Winchester only to trace the real leak to a failed hip mortar joint eight feet away. This guide teaches you to look past the tile: the mortar, the underlayment, the flashing, the deck. You’ll learn what fails, how to spot it, and when it’s a job for you versus a job for a roofer.
Quick Answer
Most tile roof problems aren’t broken tiles at all. They’re failed mortar at the hip and ridge, dried-out underlayment the tile has been hiding for years, undersized flashing at chimneys and skylights, or rotted decking under a tile field that looks fine from the street. The fix depends on which layer failed, so the real job is diagnosis, not swapping out a cracked tile. On a tile roof, the tile is the last thing to fail and the easiest thing to fix.
Styles & brands we work with
- Architectural shingles
- Metal roofing
- Tile roofing
- GAF
- Owens Corning
- Flat & low-slope
Table of Contents
- Why Hip and Ridge Mortar Fails First
- Reading Underlayment Failure Without Tearing Off Tiles
- Flashing at Chimneys and Skylights Under Tile
- How to Walk a Tile Roof Without Cracking It
- The “Tile Is Fine, Deck Is Rotted” Scenario
- Mortar vs. Foam-Set: What a Repair Looks Like
- Common Mistakes to Avoid
- When to Call a Professional
Why Hip and Ridge Mortar Fails First
Hip and ridge caps sit where heat piles up and temperature swings hardest. Mortar is rigid. Tile is rigid. When the two expand and contract at different rates through a hundred-plus degree summer days in Winchester, the mortar is what gives. Hairline cracks open at the joint, water gets behind the cap, and that’s your leak. It’s the single most common tile roof failure we see in this climate, and it almost never shows up as a broken tile.
Here’s what to look for from the ground with binoculars or a ladder you trust:
- Cracked or missing mortar along the ridge line and the hip ridges that run down to the eaves.
- Gaps where the cap meets the field tile, especially on the sunny south and west slopes.
- Mortar crumbs in the gutter or on the ground below a hip. That’s mortar that’s been shedding for years.
- Staining on the fascia or soffit just below a hip. Water runs down the felt and shows up at the edge first.
In the southwest corner of Winchester, where the afternoon sun hits hardest, we routinely see ridge mortar looked powdery at the 15-to-20-year mark. Once it’s crumbling, patching over it with a fresh smear of mortar just delays the problem. The lasting fix is to pull the loose caps, clean the joint back to sound material, and reset. Many repairs today move away from mortar entirely toward foam-set adhesive, which can flex with the roof and holds up better under thermal cycling. We’ll get to that below.
Reading Underlayment Failure Without Tearing Off Tiles
The underlayment is the real waterproofing on a tile roof. That felt or synthetic sheet under the tile is what keeps water out; the tile is the raincoat on top of the raincoat. When the underlayment dries out and cracks, you get leaks at the tile laps even though every tile on the roof looks perfect. This is the failure that surprises homeowners the most, and on a 20-year-old tile roof in Winchester it’s often the real culprit behind a leak nobody can find.
You can’t see underlayment from the roof without lifting tiles, but you can read its condition from the attic. Look for:
- Water stains on the underside of the decking between rafters, especially in a line that follows a tile course.
- White chalky streaks or a dried-out, brittle look on any exposed underlayment at the eave or in the attic where it laps over the wall.
- Daylight around the ridge or hips where the underlayment has torn.
- Old water staining that’s dry now. That tells you the leak is intermittent, which fits dried-out felt that only fails in a wind-driven rain.
- Granule or felt debris in the gutter. Synthetic underlayments and older felts shed when they break down.
If the underlayment is failing over a large area, patching isn’t honest work. The tile has to come up to re-cover the deck, and the tile itself is usually reusable. That’s a different job than a roof repair in Winchester, and worth pricing carefully.
Flashing at Chimneys and Skylights Under Tile
Flashing on a tile roof is not the same geometry as flashing on a shingle roof, and that’s where a lot of leaks start. Shingle roofs use step flashing woven between courses. Tile roofs sit on top of the flashing in most assemblies, which means the flashing has to be installed and signed off before the tile goes on. If it’s undersized, or if the tile was reset on top of old flashing during a repair, water runs behind the tile and down the chimney or the skylight curb. Nobody notices because the tile looks fine.
The signs from inside the attic:
- Staining in a V pattern below a chimney or skylight. That’s water tracking down the valley between rafters.
- Rust trails on the flashing where you can see it through a gap. Rust means it’s been wet for a long time.
- Daylight or a visible gap where the tile meets the curb. There should be no gap.
- Lifted or misaligned tiles around the penetration. That’s usually a sign someone cut or shoved tiles to make the flashing fit.
Proper step flashing under tile needs a taller vertical leg than on a shingle roof because the tile itself holds water on its surface. On a repair, the tile around the chimney or skylight has to come up so the flashing can be replaced against the wall. It’s fussy work, and it’s the kind of thing that should be redone correctly the first time. We’ve re-flashed skylights in Winchester that had been tiled over twice before anyone did it right.
How to Walk a Tile Roof Without Cracking It
Tile cracks underfoot. That’s a fact, and it’s why a repair visit that creates new damage is the wrong outcome. On clay and concrete tile roofs, foot placement is everything. A stepped tile that was fine yesterday will be in two pieces if you put your weight on the wrong spot. If we’re on your roof inspecting or replacing a tile, we’re walking soft. You should know what that looks like before you let anyone up there.
The rules we follow on every tile roof:
- Walk on the headlap, not the field. Aim your foot for where one tile laps over the next, not the middle of the tile. The lap is reinforced and sits lower.
- Spread your weight. Two points of contact, moving slowly, keeping your feet flat. No stomping toward the ridge.
- Stay below the ridge line and follow a single line. Don’t zigzag. Pick a path and stick to it.
- Never step on a tile that’s already cracked or that flexes. It’s going to go.
- Bring the right shoes. Soft-soled work boots, not rubber boots with lugs. On tile you want grip, not traction that scuffs the surface.
- If a tile cracks, replace it. Don’t leave it. A cracked field tile in the right spot is a candidate for wind uplift.
If a contractor charging you for a repair shows up in lug-soled boots and tromps across the field of tiles to save a few steps, you’re going to find broken tiles when the job is done. Ask how they walk tile roofs before you hire them.
The “Tile Is Fine, Deck Is Rotted” Scenario
On 20-plus-year-old tile roofs, we’ve pulled up tiles to fix a leak and found the deck underneath soft, delaminated, or spongy. That’s a different job than a repair, and it’s the scenario that turns a leak fix into a structural replacement. Here’s what’s happening: the underlayment has been failing for years, water has been reaching the deck slowly, and the plywood has been breaking down quietly under a roof that looks intact from the street. On tire roofs, this is why a leak that starts small suddenly wears a whole sheathing.
How to spot it before it becomes structural:
- Soft spots in the attic deck. Step on a rafter bay, never between rafters. If the plywood gives, it’s gone.
- Sagging in the sheathing visible from inside the attic, or a roof line that waves when it was straight.
- Water staining on the underside of the deck that’s wider than a single leak point.
- Rust on the nails holding the tile battens or the deck. Rusted fasteners mean long-term moisture.
- A musty smell in the attic. That’s prolonged damp, not just a recent storm.
If the deck is rotted over a significant area, we replace the sheathing and re-cover with new underlayment before the tile goes back down. That’s the responsible fix. Re-tiling over a bad deck is a phone call waiting to happen again in two winters. We’ve seen this on plenty of tile roofs around Winchester where the underlayment outlived its service life by a decade.
Mortar vs. Foam-Set: What a Repair Looks Like
When a hip or ridge cap fails, you’ve got two repair options: reset it in mortar or set it in foam. Both work, but they fail differently. Mortar is traditional, it’s rigid, and it’s fine for a new install. But once a roof has been through a decade or two of Winchester heat cycles, resetting a cap in mortar means fighting a joint that’s already shown you mortar doesn’t flex. Foam-set adhesive is flexible and it’s what a lot of tile repairs use now, especially on hips and ridges.
What a proper foam-set repair looks like:
- Remove the failed cap or lifted tile, and clear the old mortar and debris from the bed.
- Check the underlayment under the cap. If it’s torn or brittle, replace that section before resetting.
- Apply the foam adhesive in a bead along the joint, set the cap, and hold it until the foam grabs.
- Clear the weep gaps so water can’t pool behind the cap.
- Check the cap for alignment with the existing line before the foam sets.
Mortar isn’t bad. It’s just that on a thermal-cycling roof, foam-set is the better bet for a repair. The wrong move is smearing fresh mortar over old, cracked mortar in the joint without cleaning it first. That fails again by the next summer.
Common Mistakes to Avoid
- Treating the cracked tile as the leak. The tile is usually the symptom, not the cause. Fixing it without checking mortar, underlayment and flashing means the leak comes back and you’ve paid twice.
- Walking the roof in the wrong boots. A repair visit that cracks three tiles in the process is a net loss. Ask your roofer how they walk tile before they climb up.
- Patching mortar over failing mortar. In Winchester heat, a smear over a cracked joint fails by the next summer. The joint has to be cleaned back to sound material.
- Re-tiling over a rotted deck. If the deck is soft under the tile, the underlayment goes first, the sheathing gets replaced, and then the tile. Skip that and you’ll be back in two winters.
- Assuming the flashing is fine because the tile is. Undersized chimney and skylight flashing hides under the tile field and leaks behind it. If the tile around a penetration has been cut or lifted, look at the flashing.
- Calling a roofer before you’ve looked in the attic. The attic tells you half the story before anyone climbs a ladder. Stains, rust, soft deck, daylight. Check it first.
- Letting a storm chaser talk you into a full replacement. Tile roofs are repairable far more often than they’re totaled. Get a second opinion on any written estimate before you sign.
When to Call a Professional
Call a roofer when the leak’s origin is under the tile, when the deck is soft, when the flashing at a chimney or skylight needs to come up, or when you’re not sure what you’re looking at. Tile roofs are high off the ground and breakable, and a fall from any pitch is worth avoiding. Walking a tile roof to inspect is one thing. Actively lifting tile, cutting out failed sections, and resetting caps is another job entirely. We’ve seen homeowners in Winchester try to save a few hundred dollars and end up with a cracked field and a leak that moved. If the diagnosis is unsure, the call is the right move. Shepherd & Sons Roofing Winchester offers free estimates in Winchester, including a free second opinion on any written estimate you’ve already got. Call (844) 797-8167.
See the difference
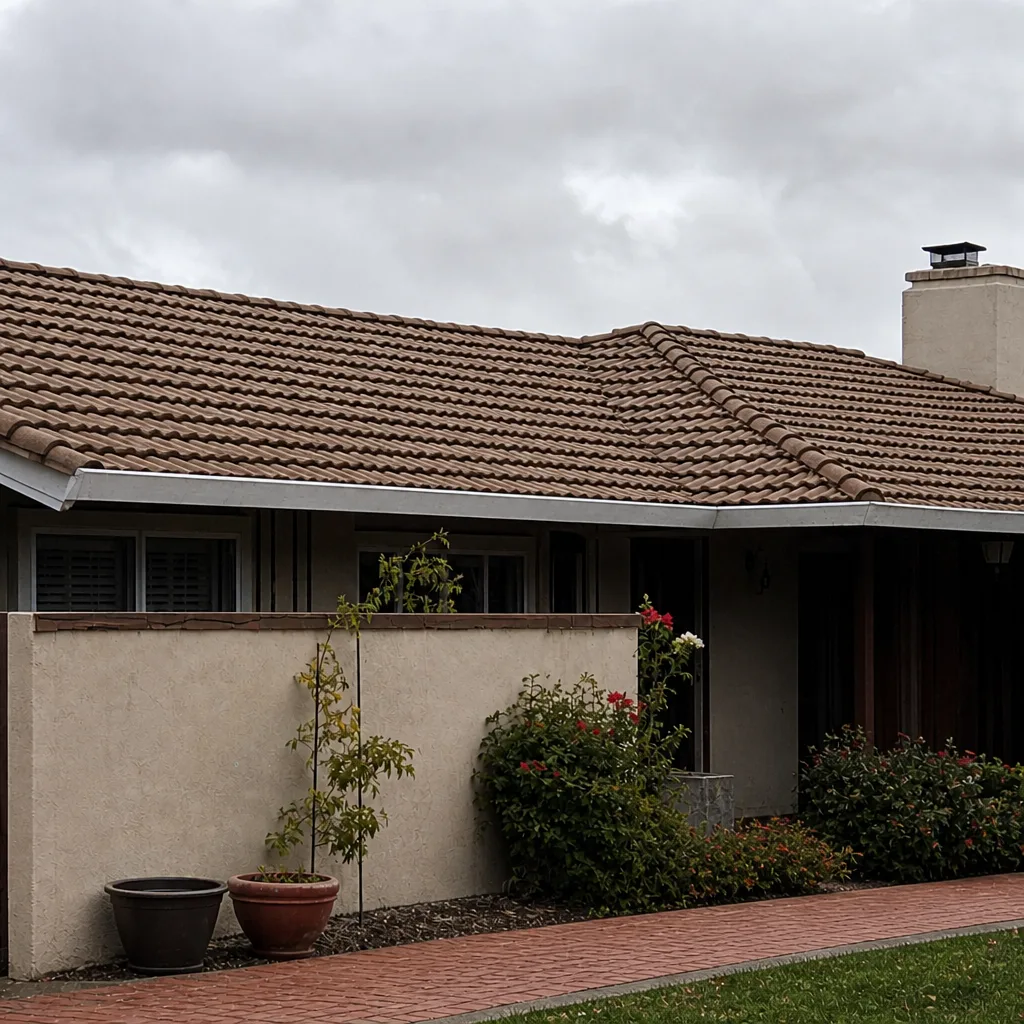
 Before
 After
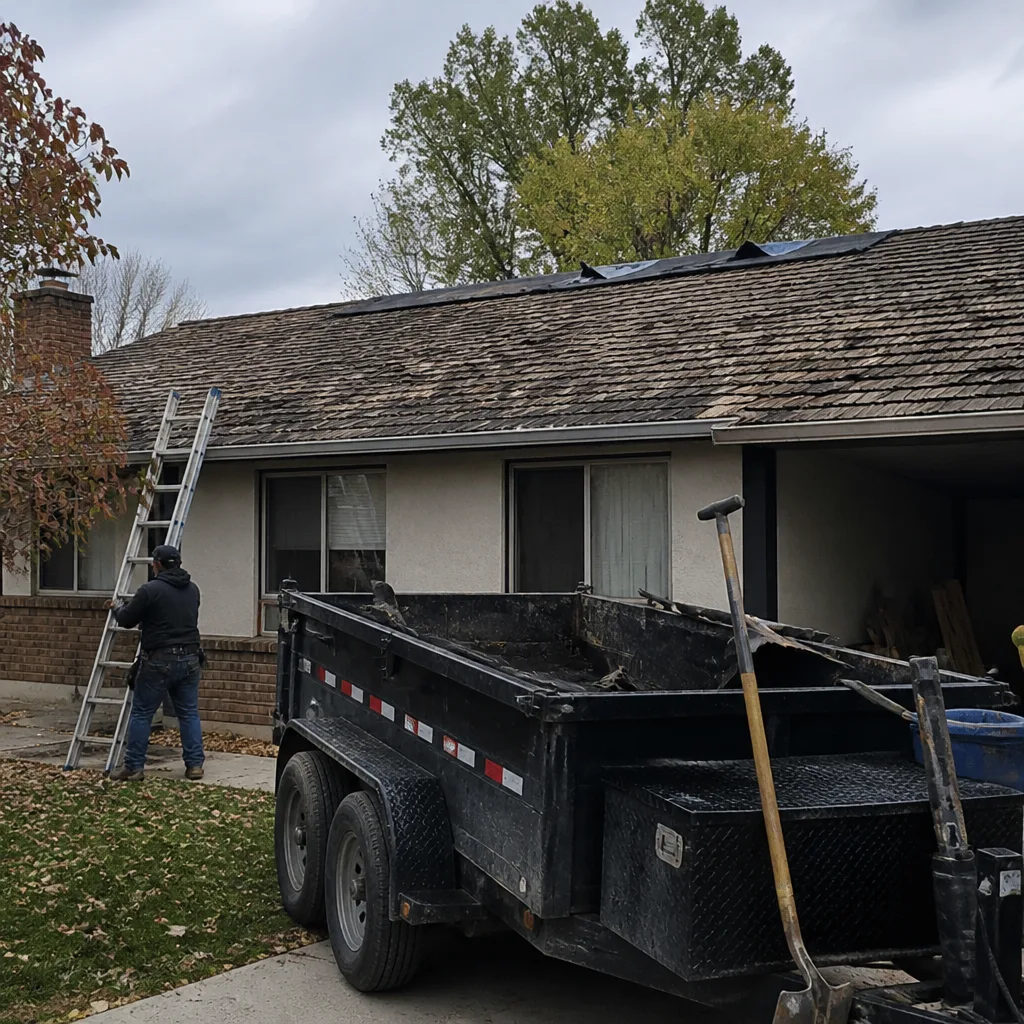
 Before
 After
 Before
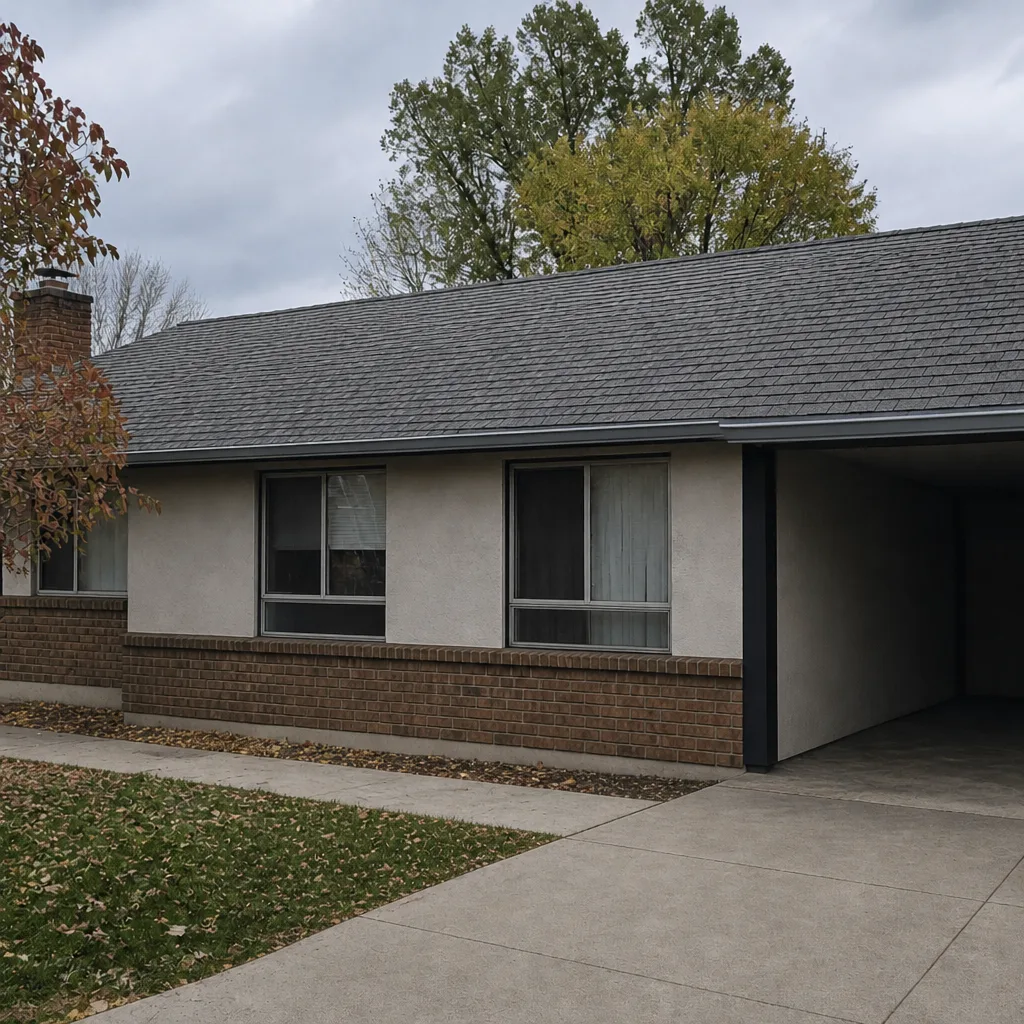 After
Frequently Asked Questions
Most tile roof repairs in Winchester run a few hundred to a couple thousand dollars depending on what failed: a foam-set hip cap reset is on the low end, while lifting tiles to replace underlayment or flashing climbs higher. A full underlayment re-cover over a bad deck costs more than a spot repair. The honest answer is that price depends on the layer that failed, which is why diagnosis comes first. Call (844) 797-8167 for an exact quote – estimates are free and there’s no trip charge inside our county.
Yes, and that’s the most common scenario we see. The tiles are the outer raincoat; the underlayment and flashing beneath them do the sealing. Dried-out underlayment, cracked hip mortar, or undersized flashing at a chimney will leak into the attic while every tile on the roof looks intact from the street. If water is coming in and the tiles look fine, look under them.
Mortar-set caps are held with a rigid cement bed, while foam-set caps use a flexible polyurethane adhesive. On a roof that goes through big temperature swings each year, mortar cracks and foam bends, which is why we often recommend foam-set for a repair even when the original was mortar. Both work; the foam just holds up better once the thermal cycling starts.
Look in the attic for water stains on the deck between rafters, chalky or brittle material at any exposed underlayment, daylight at the ridge or hips, or felt debris in the gutters. If any of those show up, the underlayment is the likely culprit and the tile has to come up over that area to fix it. That’s a job for a roofer, not a weekend.
Yes, with care. The technique is to walk on the headlap where one tile overlaps the next, keep your weight spread, stay below the ridge, and wear soft-soled boots so you don’t scuff the surface. A roofer who tromps across the field of tiles in lug soles is going to leave cracked tiles behind, so ask how they walk before you hire them.
Only if the problem is actually the whole roof. Most repeat leaks trace to the same missed detail: a flashing joint, a hip cap, or a section of failed underlayment. Replacing a whole tile roof to fix a leak someone couldn’t diagnose is the expensive route. Get a second opinion on any written estimate before you sign, and ask specifically what failed under the tile.
The Bottom Line
On a tile roof, the tile is the most visible layer and the least likely to be your leak. Look past it. Check the hip and ridge mortar first, especially on the sunny slopes where Winchester heat has been working on it for years. Read the underlayment from the attic. Look at the flashing around every penetration. Test the deck for soft spots. Walk the roof soft if you walk it at all. The fix follows the diagnosis, and the diagnosis is the job. If you want a second set of eyes, we’ll come out and put eyes on the layers under your tile. Call (844) 797-8167 for a free estimate, and we’ll show you what we find before we talk money.
Written by the team at Shepherd & Sons Roofing Winchester.