
Last updated November 17, 2026
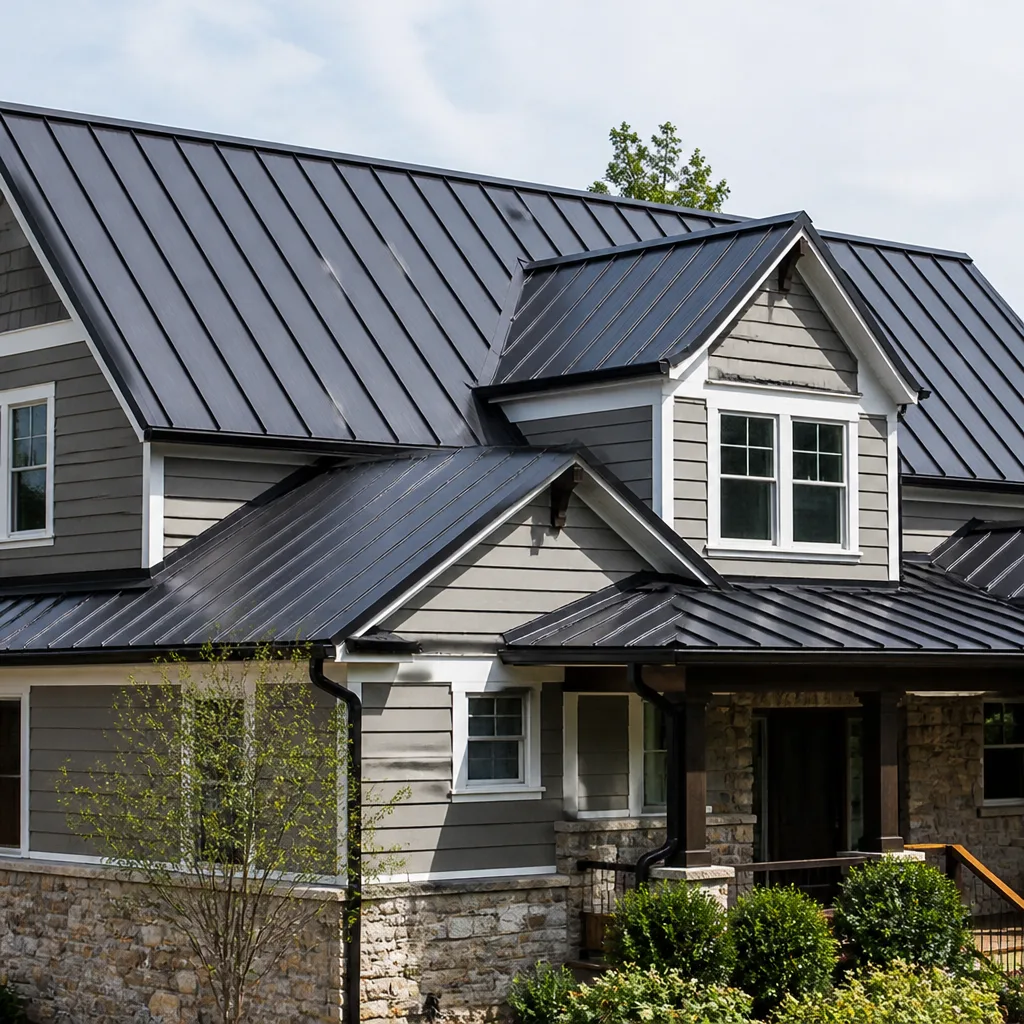 Metal roofing
 Architectural shingles
 Tile roofing
 GAF
 Owens Corning
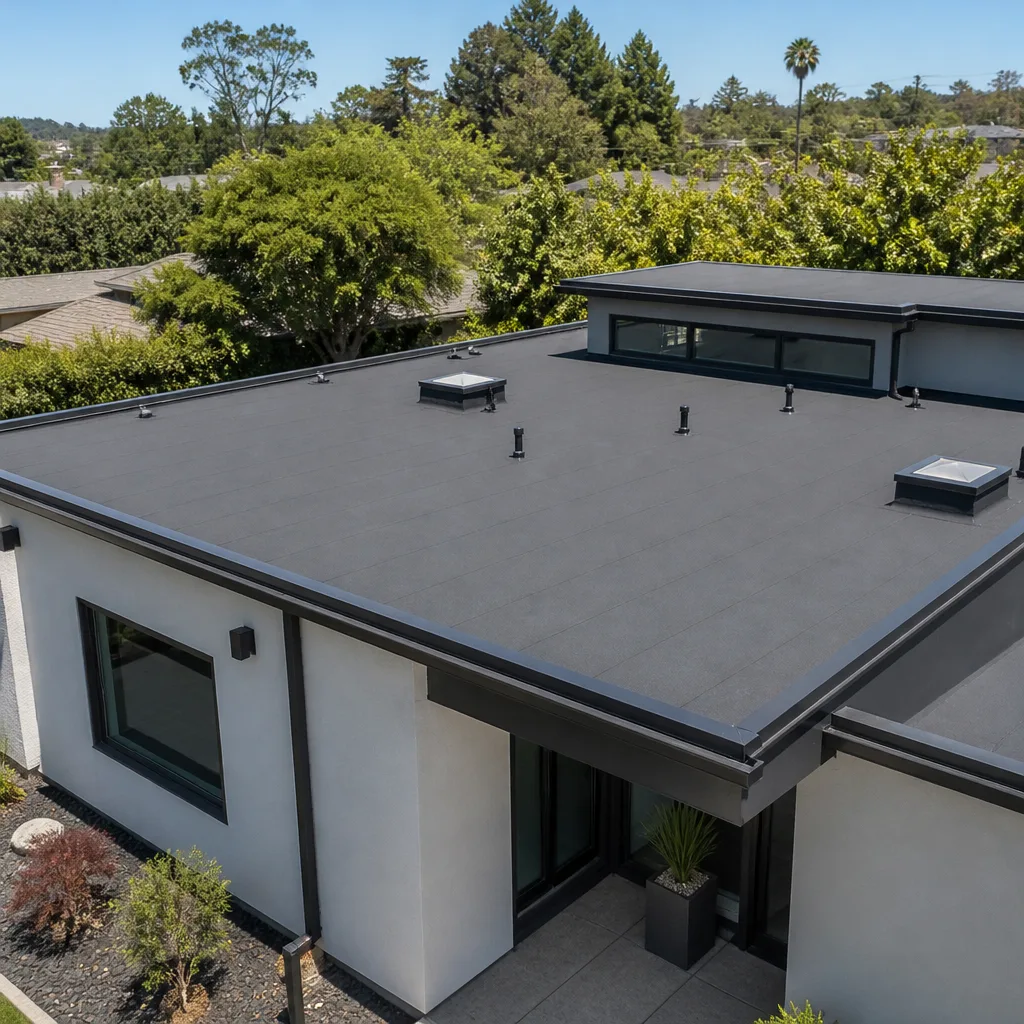 Flat & low-slope
Free roof inspection with deck photos before we talk money - GAF and Owens Corning certified installation
Specialty Roofing Troubleshooting: Common Problems and How to Fix Them
Most specialty roofs don’t fail where they leak. That’s the part that surprises homeowners. On a foam roof, a blister you can see from the driveway usually starts with a coating that quit shedding water two summers ago. On a metal roof, the ceiling stain in your hallway often traces back to a fastener three feet upslope that pulled loose in a thermal cycle, not the seam directly above it. Water travels farther from entry to drip on specialty systems than on any other roof type. That’s why a patch in the wrong place never holds.
I’ve re-fixed more specialty roofs that someone else already patched than I can count, and the pattern never changes: the visible problem got treated and the real source kept leaking. This guide is for Winchester homeowners who want to understand what they’re looking at before they call anyone. We’ll cover how water migrates on foam, metal, and low-slope roofs, how to tell a surface blister from a moisture problem underneath, the three different metal-roof failures that all look the same from inside, and what you can safely photograph to help a roofer find the source.
Quick Answer
Specialty roofing problems are almost always misdiagnosed first. On foam, metal, and low-slope systems, water enters uphill and shows up downhill, so the drip is rarely where the breach is. Fix the source (failed coating, pulled fastener, or flashing gap) and the leak stops; patch the symptom and it comes back with the next rain. In Winchester, the dry summer heat and sudden fall storms make coating fatigue and fastener movement the two most common specialty failures we see.
Styles & brands we work with
- Architectural shingles
- Metal roofing
- Tile roofing
- GAF
- Owens Corning
- Flat & low-slope
Table of Contents
- How Water Migration Works Differently on Specialty Roofs
- Foam Roof Troubleshooting: Blister vs. Substrate Moisture
- Metal Roof Troubleshooting: Fastener, Seam, or Flashing
- Low-Slope and Flat Roof Troubleshooting
- What You Can Safely Document Before the Service Call
- Temporary Measures That Work vs. Patches That Make It Worse
- Common Mistakes to Avoid
- When to Call a Professional
How Water Migration Works Differently on Specialty Roofs
On an asphalt shingle roof, water usually shows up close to where it got in. Shingles shed fast, the underlayment sends water down the slope, and the leak lands roughly below the damage. Specialty roofs don’t work that way. Foam is monolithic, so water that gets under the coating travels sideways through the foam before it finds a weak spot to drip through the deck. Metal sheds fast at the surface, but once water gets behind a panel or under a flashing, the purlins and underlayment carry it in ways that have nothing to do with the slope you can see.
That’s why the first rule of specialty roof troubleshooting is simple: trace upward. In our experience in Winchester, a ceiling stain on the north side of a low-slope build-up often starts ten feet away at a scupper that clogs with cottonwood fluff every June.
Here’s the general path water takes on the three common specialty systems:
- Foam: enters through a coating crack or seam, travels laterally through the foam cells, drips at the thinnest or lowest point.
- Metal: enters at a fastener, seam, or flashing gap, runs along the purlin, drips at a panel overlap far downslope.
- Low-slope membrane: enters at a seam, penetration, or parapet termination, ponds under the membrane, and shows up at a deck seam.
Every one of those paths is uphill from the drip. If a bidder quotes you a fix for the spot where the water lands without walking the roof above it, they haven’t found the source yet. If you’d like a second set of eyes on a diagnosis like this, Roof Repair in Winchester is where we start those calls.
Foam Roof Troubleshooting: Blister vs. Substrate Moisture
Spray foam is a good roof for Winchester’s dry climate and intense sun, but foam is only as good as the coating over it. Ultraviolet light breaks down the elastomeric coating, and once that coating goes chalky, water starts getting into the foam. From there you get blisters. The question that decides the repair is whether the blister is surface-level or whether there’s moisture sitting under the foam against the deck.
You can’t tell the difference by looking. A blister that feels soft and spongy might be a coating failure with dry foam underneath, or it might be a sign that water has already soaked the foam down to the substrate. Opening the wrong one makes the problem worse. Here’s how a proper diagnosis goes:
- Walk the whole roof, not just the blister. Coating condition tells you how widespread the failure is. If the coating is chalky and checking across three-quarters of the surface, the blister is a symptom.
- Sound the foam with a tap test. A dull, dead thud over an area is a sign of moisture. A sharp, hollow tap over a blister is more likely a coating void.
- Check moisture with a meter. This is the step that decides the fix. A pin or non-invasive moisture meter on the foam and at the deck level tells you whether you’re dealing with a coating repair or a foam replacement.
- Cut a small test core only if the meter reading is ambiguous. Once you open it, you own it. Best done by someone who knows what they’re looking at, because a poorly sealed test cut becomes the next leak.
- Repair to the diagnosis. Surface blister: clean, prime, and recoat with a compatible elastomeric. Moisture under the foam: remove the wet foam, re-foam the area, and recoat. Anything else is a patch over a problem that will return.
In Winchester, foam roofs tend to fail at the coating first because of the summer UV load, not because the foam itself was bad. Recoating on schedule is the whole game. When the coating goes and moisture gets in, a repair becomes a replacement conversation. If you’re not sure which side of that line you’re on, a free second opinion on a foam diagnosis is worth having before you spend on a recoating that won’t fix it.
Metal Roof Troubleshooting: Fastener, Seam, or Flashing
Metal roofing is the system we get called out to most often for what looks like a seam leak and isn’t. Three different failures produce an almost identical ceiling stain from inside the house, and each one takes a different fix. Caulk the wrong one and you’ve moved the leak a foot over without stopping it.
Failure 1: Fastener pull-through. On exposed-fastener metal (which covers most of Winchester’s agricultural and rural roofs), the screws go through an oversized hole as the metal expands and contracts with each hot day and cool night. The washer loses compression, and water gets in at a screw that looks tight from above. From inside, it drips at a panel overlap well downhill. The fix is replacing the fastener with a larger one in a properly sealed hole, not caulking over the old screw head.
Failure 2: Seam failure. On standing-seam panels, seams fail when the clip that holds the panel in place has loosened or when a panel has crept out of alignment. Thermal movement is the cause. The fix is re-securing the panels and clips, not caulking the seam, because caulk won’t hold the metal still. Boral and metal systems from the major manufacturers all move; the install has to allow for it.
Failure 3: Flashing gap. Where metal meets a chimney, skylight, or wall, the flashing has to move with the metal and still shed water. When the flashing was set tight against the panel with no allowance for movement, a gap opens over a few seasons. The fix is a proper flashing detail with a back-pan and a flexible sealant rated for metal, not a smear of caulk over the gap.
How to tell them apart before anyone touches the roof:
- Walk the roof uphill from the drip and check every fastener within ten feet. A loose one with a compressed washer is likely your source.
- Look along the seams under each fastener in the drip’s path. A seam that’s crept out of alignment shows a slight gap or a popped clip.
- Check the flashings for a visible gap between the metal and the counter-flashing, especially on the uphill side.
Caulking is not a repair on a metal roof. It’s a temporary cover that fails within a season and can void the panel warranty if it’s the wrong product. For a system that’s designed to last decades, Metal Roofing in Winchester is where we walk through what a proper repair detail looks like.
Low-Slope and Flat Roof Troubleshooting
Low-slope roofs (membrane or modified bitumen) are less common on Winchester homes, but plenty of shops, additions, and older builds have them. The failure pattern is different because water doesn’t shed off a low-slope roof fast. It sits, finds every weakness, and pools. Most low-slope leaks come from one of four places:
- Seams: the lap seams, especially on a TPO or EPDM membrane, are where water wicks in. A seam that lifted at the edge from a bad weld or heat failure lets water run under the membrane.
- Penetrations: every pipe, vent, or HVAC curb is a hole in the waterproof layer. The flashing boot or pitch pan around it is the weak point.
- Parapet terminations: where the membrane meets the wall, the termination has to be sealed and counter-flashed. A termination that lets water behind the membrane sends it along the top of the wall and shows up at the ceiling inside.
- Ponding water: on a truly flat roof, low spots hold water for days after a rain. Ponding itself doesn’t cause a leak, but it stresses every seam under the water and finds the ones that were marginal.
A proper low-slope diagnosis means checking all four, then testing the suspect area (a controlled water test on a dry roof) before doing the repair. Replacing a membrane section without finding the actual entry point is how a “fixed” flat roof leaks again the next season. The fix for a lifted seam is a proper lap splice, not a patch. The fix for a failed penetration is a new boot or pitch pan, not more sealant.
What You Can Safely Document Before the Service Call
You don’t have to climb on your roof to help a roofer find the leak. In fact, on steep and specialty roofs we’d rather you didn’t. But there’s a lot you can document safely from the ground or through a window that saves a trip and speeds up the diagnosis. If you can, document these before you call:
- The interior drip: a photo of the stain with a tape measure or a coin for scale. Note whether it’s spreading, and whether the stain is wet only during rain or also on dry days (dry-day wetness can point to plumbing or condensation, not roofing).
- The weather it follows: leaks that follow wind-driven rain point to a different source than leaks that follow every rain. Note the wind direction during the storm that started it.
- Roofline photos from the ground: phone photos of the roof surface from the ground, from several angles, especially the area above the stain.
- Any visible surface issues: loose fasteners, lifted seams, blisters, or coating that’s chalky and flaking, photographed from a safe distance where it shows.
- The roof’s age and install history: who installed it and when, whether it’s been recoated or repaired before, and any prior leak history. That history is often the most useful thing a homeowner can hand over.
What you don’t want to do is walk a wet metal or foam roof in the rain, or poke at a blister to see what’s inside. On a genuinely steep or specialty roof, height and slip risk are real; leave the surface work to someone trained and equipped for it. A live person answers our phone around the clock, so if you’re mid-storm at 11 p.m. and watching a drip, you can call and talk it through.
Temporary Measures That Work vs. Patches That Make It Worse
If you’ve got a leak and can’t get someone out for a few days, there are temporary measures that genuinely help and hold the situation until a proper repair. There are also measures that make the eventual repair harder or void a warranty. The line between them is whether the measure gets water off the problem area without sealing water into it.
Measures that work until the professional arrives:
- Dry out the interior. Buckets, towels, and a fan on the ceiling keep a small leak from becoming a drywall and insulation job. Move furniture and set a plastic sheet if the stain is spreading.
- Clear the gutters and downspouts. Water backing up under the first course of shingles or behind flashing is a common source of sudden leaks. Cleaning them is safe and often stops the drip.
- Set a safe temporary catch where the water is coming in. If it’s running down the inside of a wall, a plastic sheet taped to route water to a bucket keeps it off floors and framing.
- Use a temporary cover on a flat or low-slope area if you can reach it safely. A properly weighted, well-draped tarp on a low-slope roof, with the runoff direction in mind, sheds water while you wait.
Measures that make it worse:
- Caulking over a fastener or seam. On a metal roof, caulk doesn’t stop thermal movement, and the wrong sealant can void the panel warranty. It also hides the actual failure from the next person who looks.
- Patching a foam blister with a tube of sealant. The blister is a symptom. Sealing over it traps moisture and forces it to find a new path or rot the foam from inside.
- Walking a wet specialty roof. Foam and metal are slick when wet. The risk of a fall outweighs any temporary repair you’d gain.
- Any repair that requires tearing off material without the right product on hand. A half-finished patch almost always leaks worse than the original problem.
I’d rather you call us with a bucket on the floor than climb up in the rain and try to fix it. A free second opinion on any written estimate and no trip charge inside the county means the call itself costs you nothing.
Common Mistakes to Avoid
- Treating the drip instead of the source. Every specialty roof leak has a source uphill of the drip. A repair at the stain is a fix for the wrong spot and it will leak again on the next storm.
- Hiring a bidder who never walked the roof above the stain. In Winchester, especially after one of our summer storms, out-of-town crews show up quoting repairs from the driveway. Ask any bidder how many squares they counted and where they found the actual entry point.
- Letting a metal roof be “fixed” with caulk. Caulk doesn’t hold a moving panel or a pulled fastener. If the quote says “seal the seam,” ask how the metal is being secured, not just sealed.
- Recoating a foam roof without a moisture test. Recoating over wet foam locks the moisture in and shortens the life of the whole roof. The test is the step that decides the fix, and it can’t be skipped.
- Letting a bidder quote on the phone without the deck in view. Specialty systems look different under the coating or panel than they do from the ground. A firm quote from a phone call is a number that changes at the door.
- Ignoring the roofing history. A roof that’s been patched three times in the same spot is telling you the first two repairs didn’t find the source. That history should change the diagnosis, not just the price.
- Waiting until the drywall goes. A specialty roof leak that’s been dripping for a season has usually done more damage inside than on the roof. Catching it while it’s still a stain saves a lot of money.
When to Call a Professional
Call a professional for any specialty roof leak where you can’t see the source from the ground, for any blister or lifted seam on a foam or metal roof, and for any repair that requires opening the surface. Call immediately if the leak is active during a storm, if you see water running down the inside of a wall, or if a stain has spread or gone soft to the touch. On a steep or specialty roof, the height and slip risk alone is reason to stay off it.
Also call if a previous repair didn’t hold. A leak that comes back in the same spot after being “fixed” means the source wasn’t found, and it’s worth a second set of eyes before someone patches it again. In Winchester, Shepherd & Sons Roofing offers free estimates and a free second opinion on any written estimate. I’ll show you the deck photos before we talk money, and a call brings me back if it’s not right.
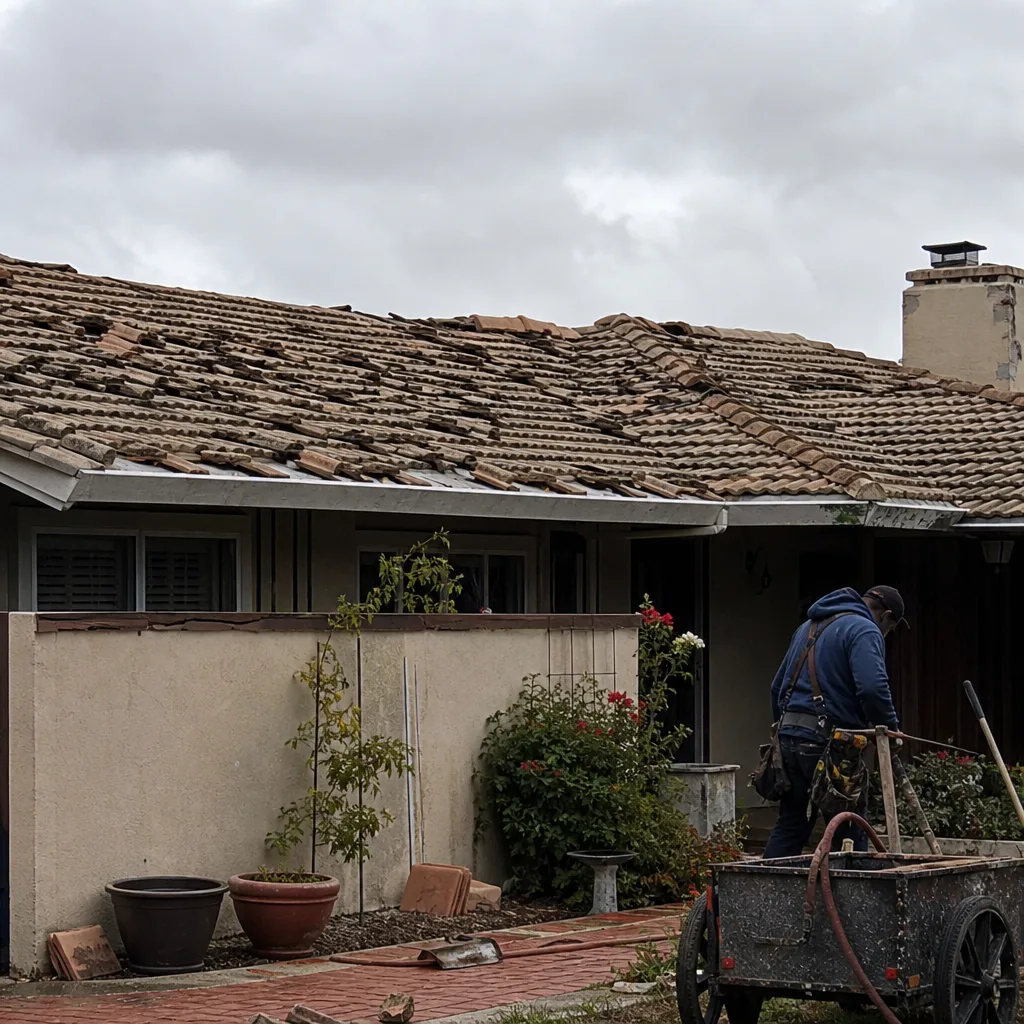
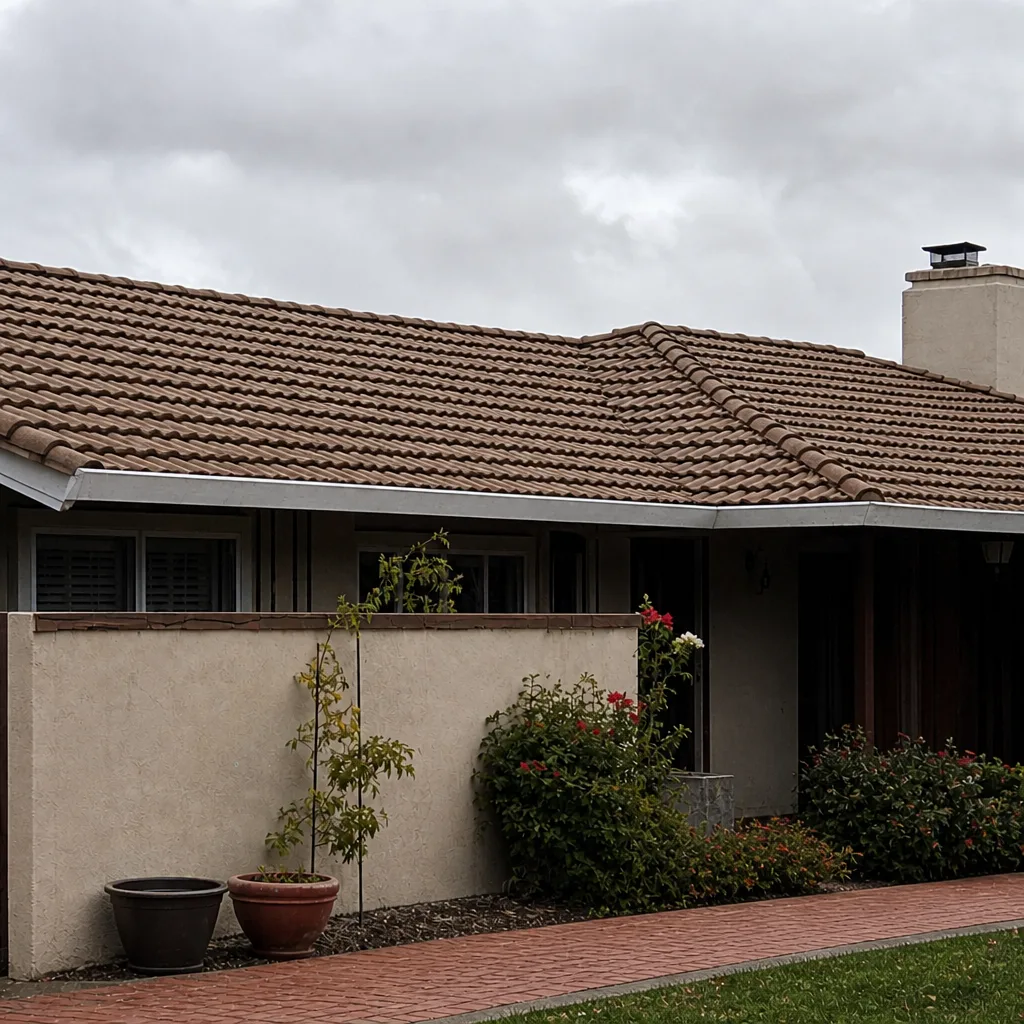
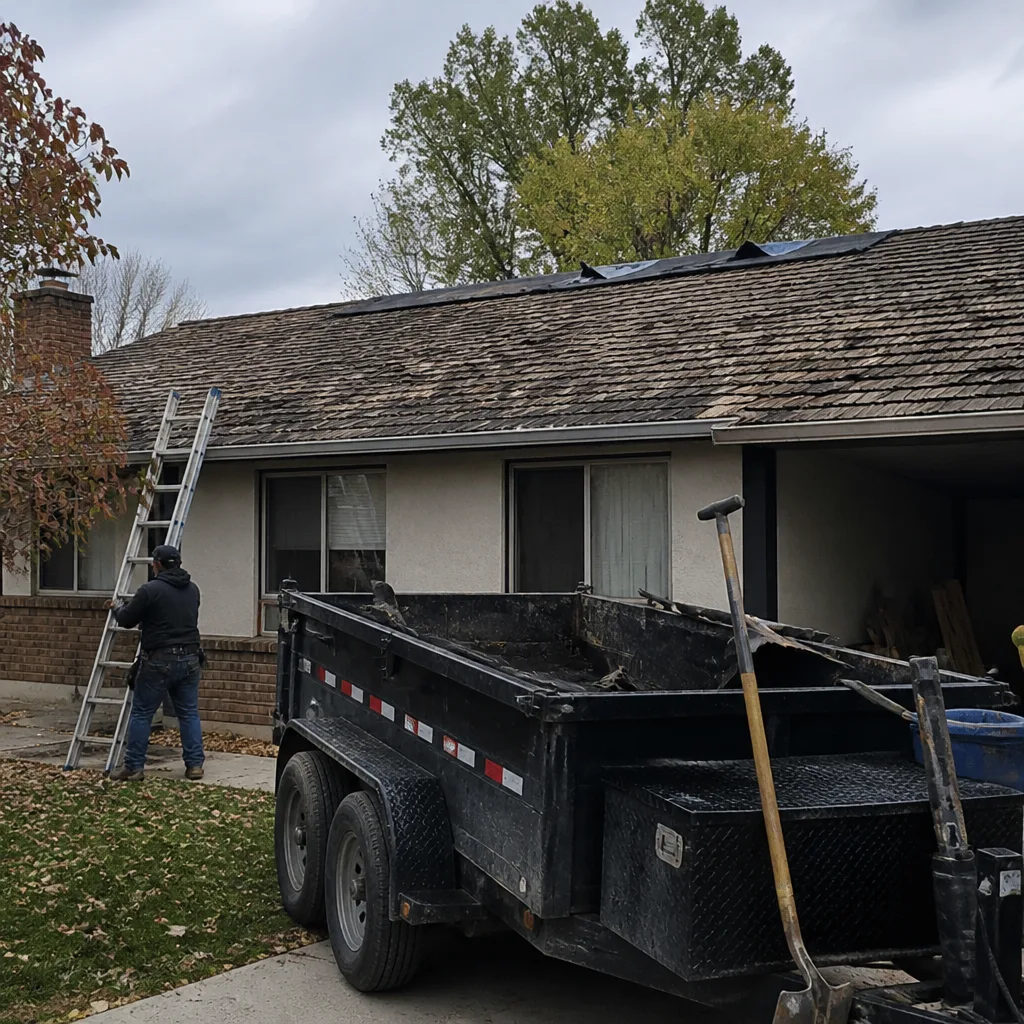
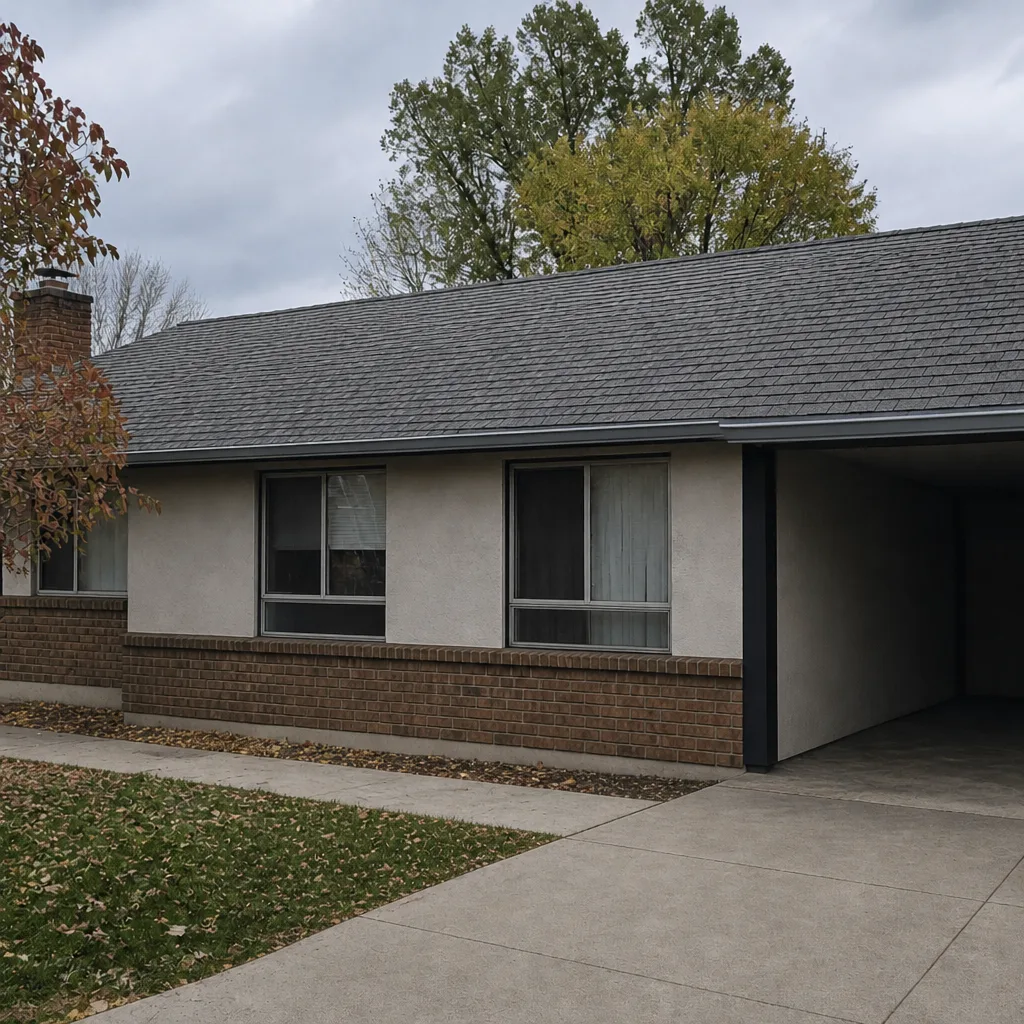
See the difference
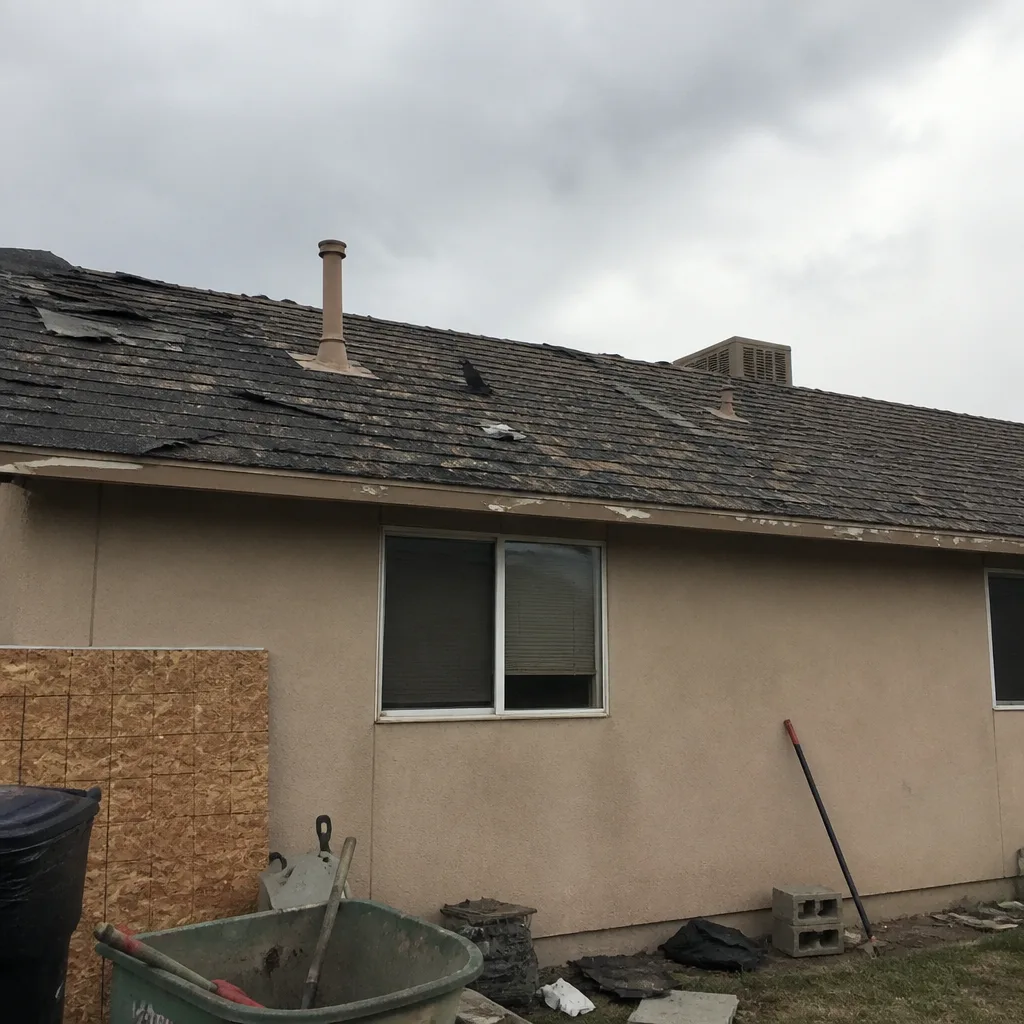 Before
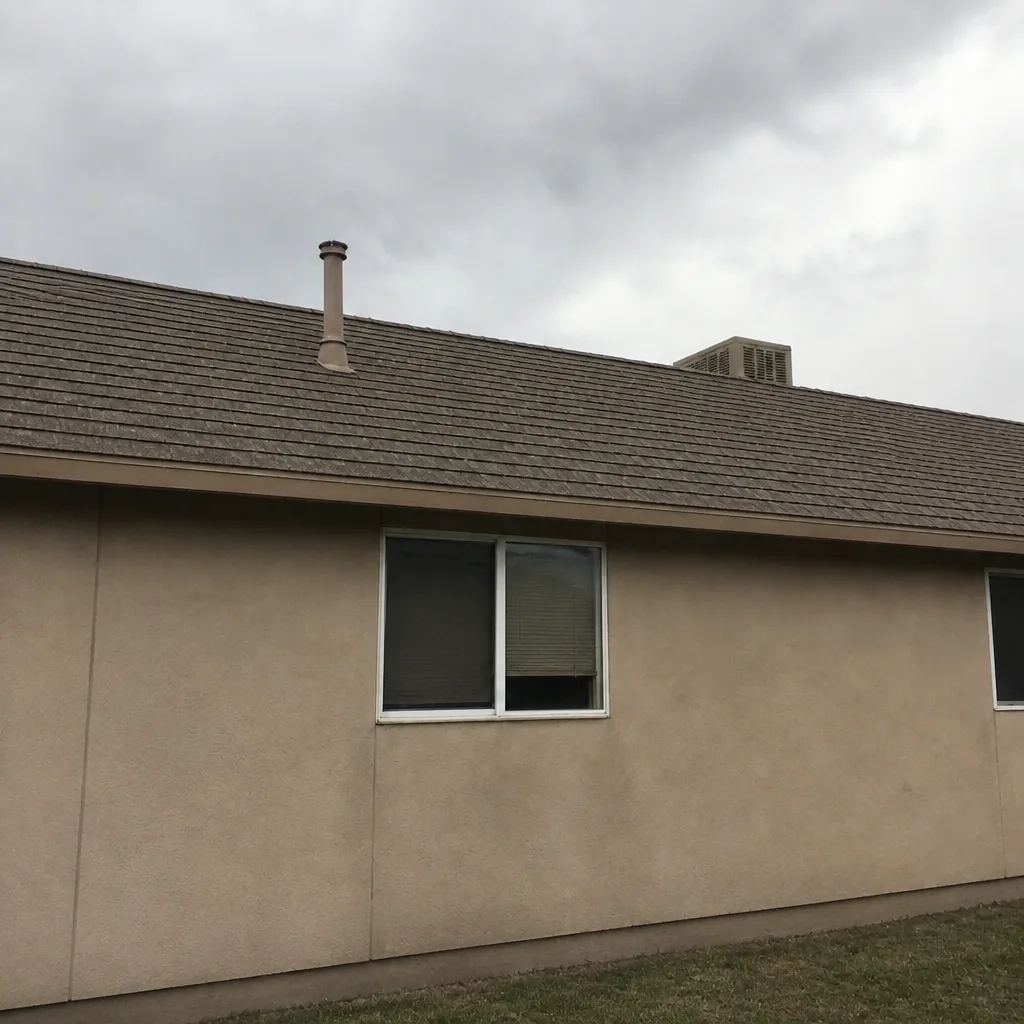 After
 Before
 After
 Before
 After
Frequently Asked Questions
Water travels farther from entry to drip on specialty roofs than on any other type. On foam, water moves laterally through the foam; on metal, it runs along purlins and underlayment. The source is almost always uphill of the drip. A proper diagnosis starts at the stain and walks up the slope to find the entry point, not at the stain itself.
Specialty repairs in Winchester typically run from a few hundred dollars for a single fastener or flashing repair to over a thousand for foam repair or a membrane seam splice, depending on the system and how much wet material has to come out. We won’t quote a firm number from the ground. We’ll walk the roof, show you the deck photos, and give you a written line-item estimate. Call (844) 797-8167 for a free estimate.
No. Caulk doesn’t stop the thermal movement that’s causing the leak, and the wrong sealant can void the panel warranty. A pulled fastener needs a new fastener in a properly sealed hole, a seam failure needs the panel and clip re-secured, and a flashing gap needs a proper flashing detail. Caulk is a temporary cover, not a repair.
Only a moisture test tells you. A blister over dry foam is usually a coating repair; a blister over foam that’s wet down to the deck means the wet foam comes out and the area is re-foamed. Looking at the blister isn’t enough. A meter on the foam and at the deck level is the step that decides it.
Yes, when the scope calls for it. Structural repairs, certain replacements, and changes that affect the roof assembly typically require a permit and an inspection, and we pull them and stand behind the inspection. Ask any bidder if the work is permitted; if they don’t pull one, the inspection doesn’t happen, and you own whatever it would have caught.
Not on a job we’ve walked and quoted in writing. On specialty roofs, what’s under the surface can change the scope once we open it up (wet foam, a rusted purlin, a rotted deck), and when that happens we stop and talk to you before doing the extra work. A fixed price and a written scope mean the number doesn’t change at the door. Call (844) 797-8167 to schedule your free estimate.
The Bottom Line
Specialty roofs fail in predictable ways, and the failures are almost always misdiagnosed first because the water migrates. Foam blisters come from coating failure; metal leaks come from three different sources that look identical from inside; low-slope leaks start at seams, penetrations, and terminations, not at the ceiling stain. The whole job of troubleshooting is finding the source uphill of the drip before anyone touches the roof. In Winchester, the summer UV load makes coating fatigue the big one, and the fall storms turn every loose fastener into a leak. If you can’t find the source, or a rep