
Last updated November 17, 2026
 Architectural shingles
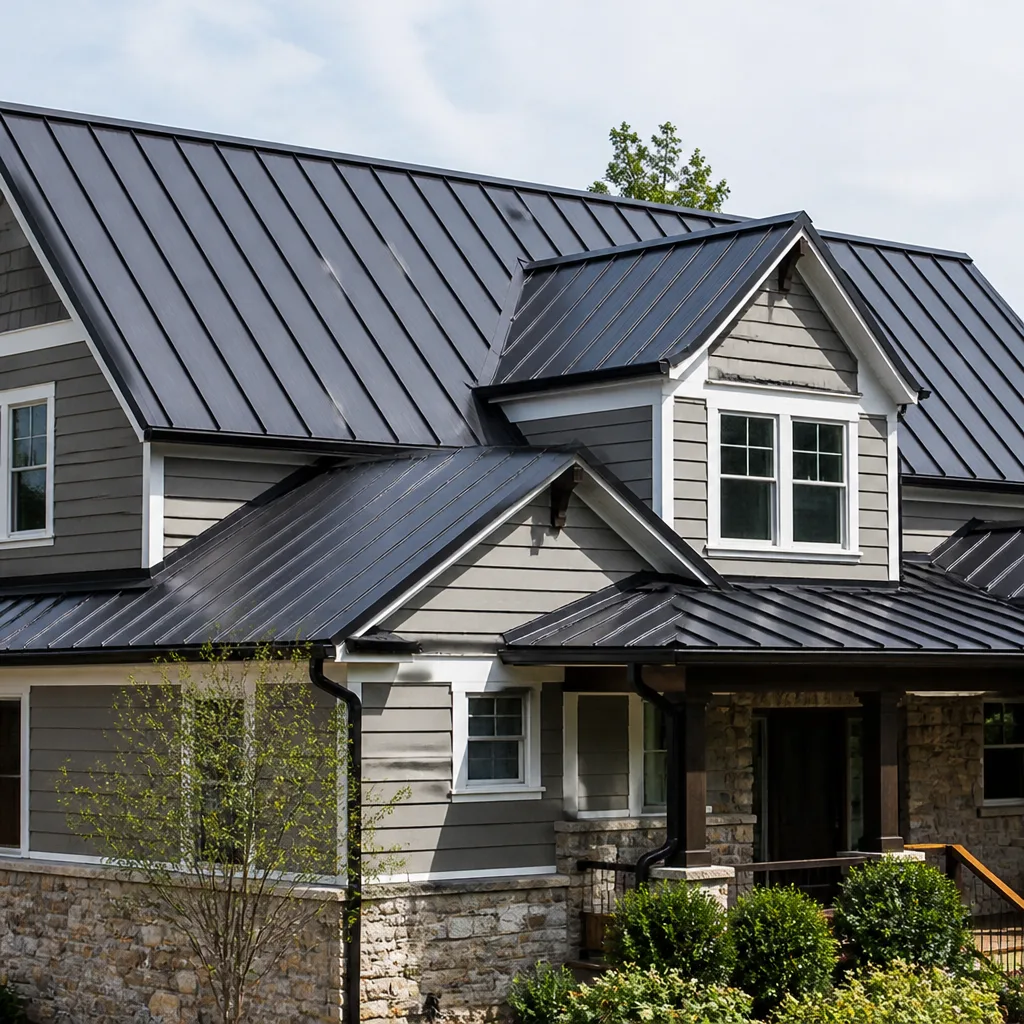 Metal roofing
 Tile roofing
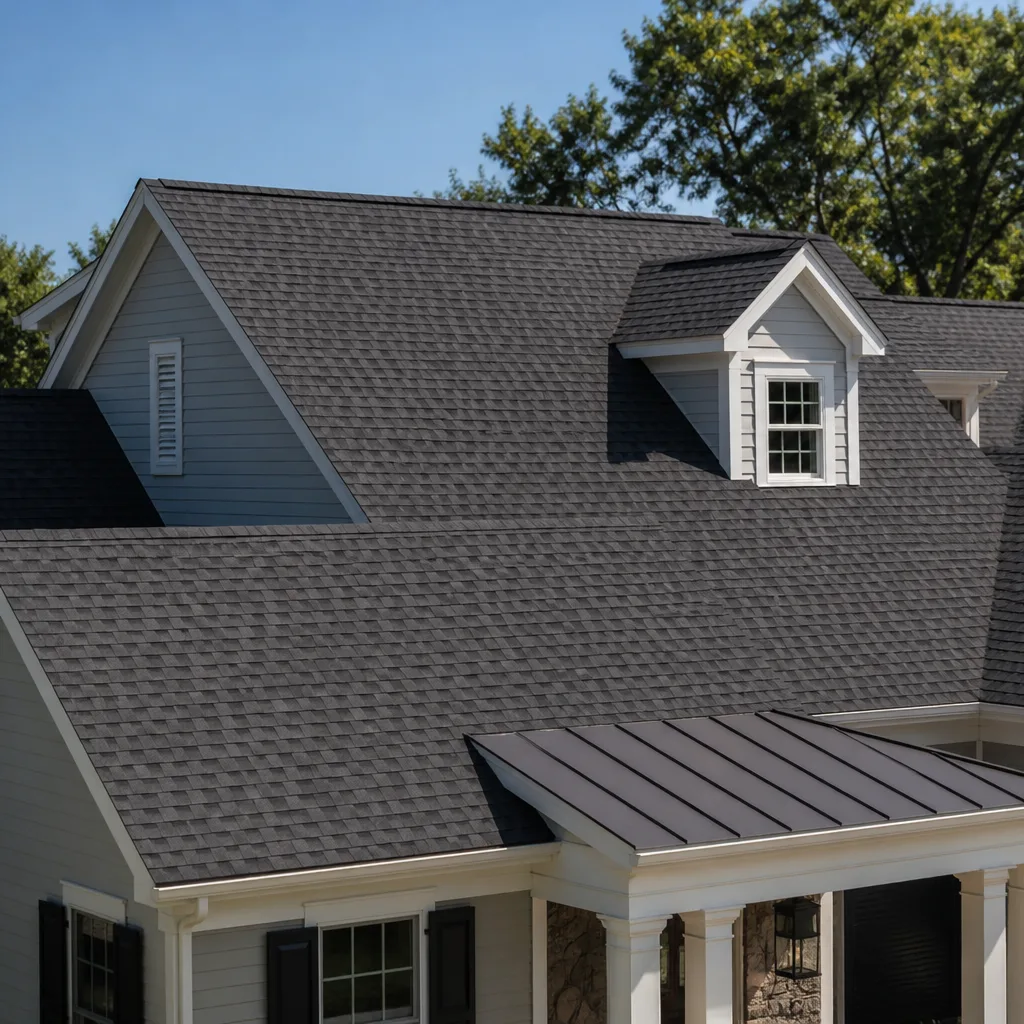 GAF
 Owens Corning
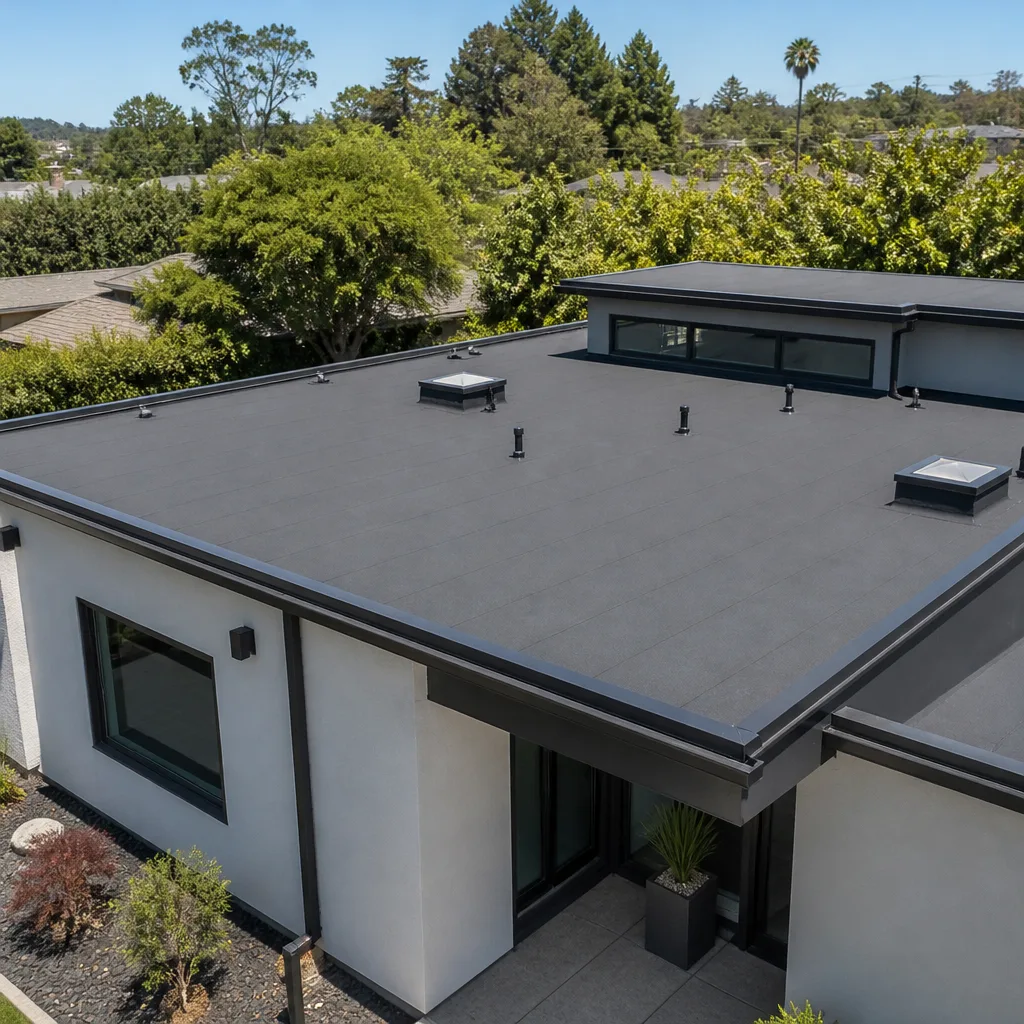 Flat & low-slope
Free roof inspection with deck photos before we talk money - GAF and Owens Corning certified installation
Roof Replacement & Installation Maintenance Schedule: What to Do and When
Bill hands every replacement customer a single page of paper before the crew pulls out of the driveway. Most folks glance at it, tuck it in a junk drawer, and forget it exists until a stain shows up on a ceiling five years later. That one page lists about twenty minutes of work per year, and it costs near nothing. The reason he bothers: a single missed bead of caulk at a pipe boot costs $15 to fix and turns into a $1,500 repair once water finds the decking. Here’s what that handout says, expanded for anyone in Winchester who wants their new roof to actually earn its full lifespan.
Quick Answer
A new roof needs almost no maintenance in its first three years. What matters is verifying the installation in year one, photographing and filing a baseline, then doing light caulk and flashing checks at years three and five. Keep your receipts and inspection photos in one folder from day one, because the manufacturer’s warranty requires documentation to stay valid. That’s the whole schedule. Everything below is how to do it right.
Table of Contents
- Why a new roof needs a schedule at all
- Year 1 checklist: verify and document the install
- Years 2-5: the low-effort inspections that catch slow problems
- How Winchester’s thermal cycling affects a new asphalt roof
- What the manufacturer’s warranty actually requires you to do
- Homeowner walk-around vs. bringing a roofer back out
- A suggested one-page annual schedule
- Common mistakes to avoid
- When to call a professional
- Frequently asked questions
Why a New Roof Needs a Schedule at All
A new roof isn’t a finished product. It’s a marriage of materials that expands and contracts every single day, and it lives outdoors. Asphalt shingles move, sealant strips dry out, and penetrations that felt tight in October feel less tight in June. None of that is failure. It’s just the physics of a building. The trick is catching the small adjustments before they become problems.
What we generally see in homes across Winchester is a pattern: roofs installed well go quiet for two or three years, then the homeowner stops looking. That’s exactly when the cheap-to-fix, easy-to-miss stuff starts. Granule loss on the sun-facing slope. A pipe boot whose sealant has dried and curled. A step flashing that shifted a hair after two summers of expansion. None of these need a scheduled contractor visit, but all of them need a homeowner with a pair of binoculars and a little patience once a year.
The good news is that the schedule is short. Here’s the shape of it, in one place:
- Year 1: verify installation, photograph the baseline, file the paperwork.
- Years 2-3: light homeowner walk-around, one glance from the ground level.
- Years 3-5: caulk and flashing check at penetrations, granule adhesion check, gutter cleaning twice a year.
- Year 5 and every 2-3 years after: formal professional inspection.
- After any major hailstorm or wind event: schedule an inspection before filing a claim.
That’s the whole cadence. Call it 45 minutes of homeowner time per year and one professional visit every few years. That’s cheap insurance on the biggest single-trade investment most homeowners make, outside of the kitchen.
Year 1 Checklist: Verify and Document the Install
The most valuable hour you’ll spend on your new roof is in the first twelve months, and it doesn’t involve climbing anything. It’s a records exercise. The installation just happened, the crew is still reachable, and your memory of what was done is fresh. Capture it now, because in year seven when you need to file a warranty claim, nothing is easier to prove than a file folder with dates on it. If the install came from a crew you’ve kept in touch with, like ours, a call brings someone back fast. If you’ve moved on to a different outfit, the file speaks for you.
Here’s what to gather and verify in year one:
- Get the material spec sheet and warranty documents from the installing contractor. You want the shingle brand and specific product name. IKO, Atlas, Tamko, and Boral all publish different warranty tiers, and the tier matters.
- Ask for the square count in writing. A roof is measured in squares – ask any bidder how many they counted. You’ll need this number for any future claim or replacement.
- Photograph the deck before and after the shingles went on. If your contractor took deck photos, ask for copies. You want the pre-installation photos so you have proof of what was under the shingles.
- Photograph all visible penetrations. Pipe boots, vents, skylights, satellite mounts. Date the photos.
- Photograph the drip edge along at least two eaves and one gable, plus the underside of at least two eaves from the ground.
- Photograph where the roof meets the chimney or any wall. Flashing is where water gets in first.
- Check the attic during a heavy rain within the first six months. Dry = good. Any drip = call the installer while your warranty and their responsiveness are still fresh.
Save everything in one folder. Photos, spec sheets, warranty, receipts, contact info for the installer. Label it “Roof.” You’ll thank yourself later.
Years 2-5: The Low-Effort Inspections That Catch Slow Problems
Years two through five are the quietest stretch of a roof’s life, and that’s exactly why they’re the riskiest. Nothing bad seems to be happening, so nobody looks. In our experience, the roofs that fail early almost always have a story that starts in year three or four with a small thing nobody noticed. Here’s what to look at annually, from the ground and from a ladder with your feet on solid footing (never step onto the roof itself):
- Caulk integrity at penetrations. Inspect the sealant ring where each pipe boot, vent stack, and satellite mount meets the roof. Sealant has a way of shrinking and cracking into a crescent shape at year three or four. A tube of roof-grade polyurethane caulk is $10-$15. Replacing a stripped-out pipe boot costs $15-$30 in parts.
- Granule adhesion check. Walk the gutters after a heavy rain. A cupful of granules in the gutter is normal. A gritty silver sheen appearing on a slope that’s only three years old is not, and it points to a product problem worth a call to the manufacturer.
- Flashing movement. Check the chimney, sidewall, and skylight flashing for small gaps, lifted nails, or discoloration. Flashing shouldn’t look loose. Movement at any flashing point is a signal the fasteners underneath have backed out or corroded.
- Gutter function and pitch. Gutters that sag or pull away from the fascia let water back up the roof edge. That water finds the decking within one or two seasons.
- Attic moisture check. Once a year, climb into the attic on a cool morning. Any signs of dark staining, sagging, or moisture on the underside of the roof decking are worth a call.
Fifteen minutes twice a year – once in spring, once in fall – catches most of what needs catching. The point isn’t to fix every little thing yourself. It’s to notice it early, so the repair is small.
How Winchester’s Thermal Cycling Affects a New Asphalt Roof
Winchester sits in a climate that swings between hard freezes in January and 100-degree afternoons in July. That’s a hundred-plus degrees of thermal movement every year, and it’s not gentle on asphalt. The shingle expands and contracts, the fasteners underneath work against the decking, and the sealant strips between shingles have to reset themselves every season. A new roof handles this far better than an old one because the shingles are fresh, the sealant strips are still tacky, and the fasteners haven’t had time to work loose. But “handles it better” isn’t the same as “ignores it.”
Here’s what we’d call normal expansion movement on a new roof in Winchester:
- A faint popping or ticking sound during the first warm day after a cold snap. That’s shingle sealant strips releasing and re-adhering.
- Very slight ridges or waviness at the sun-facing slope after a hot summer. Normal thermal expansion.
- A small amount of sealant visible at the overlap seams during the first year. That’s the adhesive strip doing its job.
What is not normal, and points to early fastener failure or an install issue:
- Shingles that flutter or lift at the edges during wind.
- Nail heads visible by the dozens from the ground, especially near ridge lines.
- Whole shingles sliding down-slope or tiles that have gone out of alignment within the first five years.
- Any “cupping” or “tabbing” along a slope within five years. That’s a fast conversation with the manufacturer.
The nailing pattern earns the wind rating, not the shingle wrapper. That’s worth remembering when a storm comes through and one neighbor’s roof at the same age comes out clean and the other doesn’t. If you see any of the red-flag items above, get a roofer out to look. It’s likely something a good crew can fix while the manufacturer’s warranty is still in force.
What the Manufacturer’s Warranty Actually Requires You to Do
Here’s the part most homeowners never read. Manufacturer warranties on shingles are typically written to cover material defects, not workmanship. That means if the shingle itself fails, the warranty covers the shingle. It does not cover the labor to pull the failed shingles and install new ones. And the fine print usually requires documentation to prove the install was done correctly.
What that means in practice, especially for a new roof in Winchester:
- Retain your purchase and installation paperwork. A written invoice identifying the product line, the date, the installer’s license, and the number of squares is what a warranty department will want to see.
- Keep dated photos of installation. Manufacturer warranty departments accept photos as evidence of installation methodology. Dated photos help.
- Do not “improve” the roof yourself. Adding new layers of coating, sealant, or “rejuvenating” products that aren’t approved by the manufacturer can void the warranty on the affected sections. The warranty documents usually say this outright.
- Keep records of any inspections and repairs. A stamped inspection note from a licensed contractor strengthens your claim if anything fails.
- Register the warranty if the manufacturer requires it. IKO, Atlas, Tamko, and Boral all publish registration pathways, and some require it within a set period after installation. Miss that window and the extended coverage can lapse.
The 90-Day Done Right Promise we put on every roofing job is workmanship coverage. It’s separate from the manufacturer’s warranty, and both work together. If a defect shows up on the material, the manufacturer handles it. If the install itself goes sideways, we come back. That split is worth understanding before you ever have a claim to file.
Homeowner Walk-Around vs. Bringing a Roofer Back Out
There’s a clean line between what a homeowner should inspect and what needs a professional. Between the two, you’re not trying to become a roofer. You’re trying to be the early warning system.
A homeowner walk-around is enough when:
- You’re checking sealant, looking for obvious damage post-storm, or walking the gutters.
- You’re photographing the roof from the ground for the annual record.
- You’re checking the attic for moisture or daylight after a heavy rain.
- You’re looking for a stray shingle or nail on the ground after wind.
Bring a roofer out when:
- You’ve found granules accumulating faster than a cupful per gutter clean.
- You see lifted, cupped, or missing shingles on any slope.
- There’s any sign of water in the attic, on a ceiling, or on a wall.
- Flashing at a chimney or skylight looks loose or discolored.
- You want a formal inspection at year five, and every two to three years after that.
If a small repair is all you need, that’s priced like a repair. If it’s maintenance at year five with nothing wrong, that’s a quick visit. Either way, ask for the number before anyone climbs up, and ask what the worker is looking for. That’s the point of a second opinion: know what you’re buying before somebody opens a can of caulk.
A Suggested One-Page Annual Schedule
Print this out, tape it inside the door of the closet where the roof file lives, and check it off. It’s the whole maintenance plan on one page.
- March (spring check): walk the gutters, photograph the roof from the ground on all four sides, check attic for moisture. Note anything new.
- April (sealant check): inspect the caulk rings at two or three penetrations. If any look cracked or curled, replace the sealant with roof-grade polyurethane caulk.
- June (post-spring storm): walk the perimeter of the house and the yard for stray shingles or nails. If you see more than one, get someone up to look.
- October (fall check): clean the gutters. Walk the roof from the ground again and compare to your spring photos.
- November (pre-winter): check attic ventilation, look for condensation on the underside of the roof decking on a cold morning.
- Every 5 years (formal inspection): bring a licensed roofing contractor out for a documented inspection. Photo, sign, and file it.
- After any major hail or wind: add a formal inspection. Don’t wait twelve months.
That’s 30-45 minutes of homeowner time and one professional visit every five years. The work you save by doing this is not theoretical. In our experience, a maintenance-aware roof outlasts an ignored one by five to eight years on the same materials. That’s the difference between replacing the roof once at year 22 and replacing it twice at years 17 and 34.
Common Mistakes to Avoid
- Skipping the year-one photo baseline. Two years pass, the crew’s phone number is buried, and now you can’t prove what was installed. Take the photos in the first month and file them. Related reading: our guide to Roof Replacement & Installation in Winchester covers installation standards worth documenting.
- Reaching for construction-grade caulk from the local hardware store. The $4 tube of generic silicone from the big-box aisles fails in Winchester’s summer sun within two seasons. Roof-grade polyurethane is what the installer actually uses.
- Power-washing the roof to “clean” it. This strips granules and, on asphalt shingles, ages the roof by years in one afternoon. If a roof genuinely needs cleaning, it needs a soft-wash from a roofer, not a pressure wand.
- Adding a new layer of shingles over the old. A second layer hides problems and shortens the installation’s lifespan. When the time comes, strip to the deck. That’s what makes a replacement last.
- Patching a leak at the same spot twice without finding the source. A drywall stain in the same corner within 12 months means the water is finding a different path. Get someone up there to trace it, not just plug the visible hole.
- Losing the warranty documents on the assumption the installer “has them on file.” Installers close, phone numbers change, and material product lines retire. Keep your own file folder. If the roof is metal, the gutters and flashing maintenance matters too. See our Metal Roofing in Winchester page for those details.
- Ignoring small chips and nail pops after a hail storm hoping “the manufacturer will cover it if it gets worse.” Most hail damage claims require documentation within a set window. Photograph immediately.
When to Call a Professional
Call a roofer the moment you see any of these: water staining on a ceiling or inside wall after rain, granules accumulating in quantity in your gutters within the first five years, lifted or missing shingles on any slope, flashing that’s visibly loose at a chimney or skylight, or a leak that returns in the same place within a year. Those point to a problem worth a proper look, not another caulk-and-hope pass. Also call us after any heavy hail or wind event before you file an insurance claim, because a written inspection is a much stronger claim attachment than a phone call. Our team has up to 30 years of experience working roofs in this region, and we’ve likely seen your situation before. Shepherd & Sons Roofing Winchester offers free estimates in Winchester – call (844) 797-8167. A live person answers, day or night.
Frequently Asked Questions
Every 2 to 3 years after the first three years, plus once more after any major hail or wind event. The first three years usually don’t need a formal inspection if the installation was done right and you’ve done your own annual walk-around. Many roofers (including us) offer free second opinions on any written estimate from another contractor, and a yearly homeowner check is enough between formal visits.
Yes. Keep your installation paperwork, the material spec sheet, and dated photos of the installation. Register the warranty if the manufacturer requires it – IKO, Atlas, Tamko, and Boral all publish registration requirements that vary by product line. Don’t apply non-approved coatings or “rejuvenating” treatments, because those can void the material portion of the warranty outright. Call (844) 797-8167 if you can’t find your spec sheet or want help reading the fine print.
Some waviness after a hot summer is normal thermal expansion, especially on west- and south-facing slopes. Shingles pop and reset through Winchester’s 100-degree July afternoons. What’s not normal is pronounced cupping, curling tabs within the first five years, or shingles that stay flapped up after a wind. Those signals point to installation issues and should be inspected before the warranty period tightens up.
You need a pair of binoculars, a notebook, and a phone camera. Walk the perimeter of the house, photograph each slope from the ground, look up at the chimney and any skylights, then walk the gutters looking for granule accumulation. Check the attic twice a year for moisture or daylight. Total time: about 45 minutes per year. Never step onto the roof itself – a slip on any slope, new or old, is where homeowners actually get hurt.
You can extend it several years with proper maintenance, but you can’t reverse aging. The levers are: keep gutters clear so water doesn’t back up, replace failed caulk at penetrations every few years, inspect and repair flashing before water gets in, and don’t let small hail damage go undocumented. What you can’t do is “restore” 20-year shingles into new ones. If your roof is showing its age, our team can walk it with you and give a straight answer.
A maintenance visit is a small job with small pricing, far less than the repairs it typically prevents. What a roofer catches that a homeowner check usually misses: micro-lifting on shingle tabs from thermal movement, sealant fatigue buried under shingle overlaps, loose fasteners on the flashing that haven’t yet allowed water through, and granule wear patterns on a slope that gets more sun. If a repair is under $200, ask about the $40 off – it applies. Estimating is free, and so is a trip to your door inside our own county.
The Bottom Line
A new roof is a 20- to 30-year investment, and it will only earn its full lifespan if you do the small things the first few years. Verify and photograph the installation in year one. Check sealant, granule adhesion, and flashing movement every year after that. Bring a roofer out for a formal inspection at year five, then every 2-3 years after. Read your warranty and keep the paperwork. The work is 45 minutes per year and $15 of caulk. The reward is a roof that looks the same in year 15 as it did in year 3. That’s the whole plan. Related reading on our end: Roof Repair in Winchester for when something needs fixing, our home base at Shepherd & Sons Roofing Winchester home, and the full details on our replacement service. For a free estimate on a replacement or a maintenance visit, call (844) 797-8167.
Written by the team at Shepherd & Sons Roofing Winchester.
Styles & brands we work with
- Architectural shingles
- Metal roofing
- Tile roofing
- GAF
- Owens Corning
- Flat & low-slope
See the difference
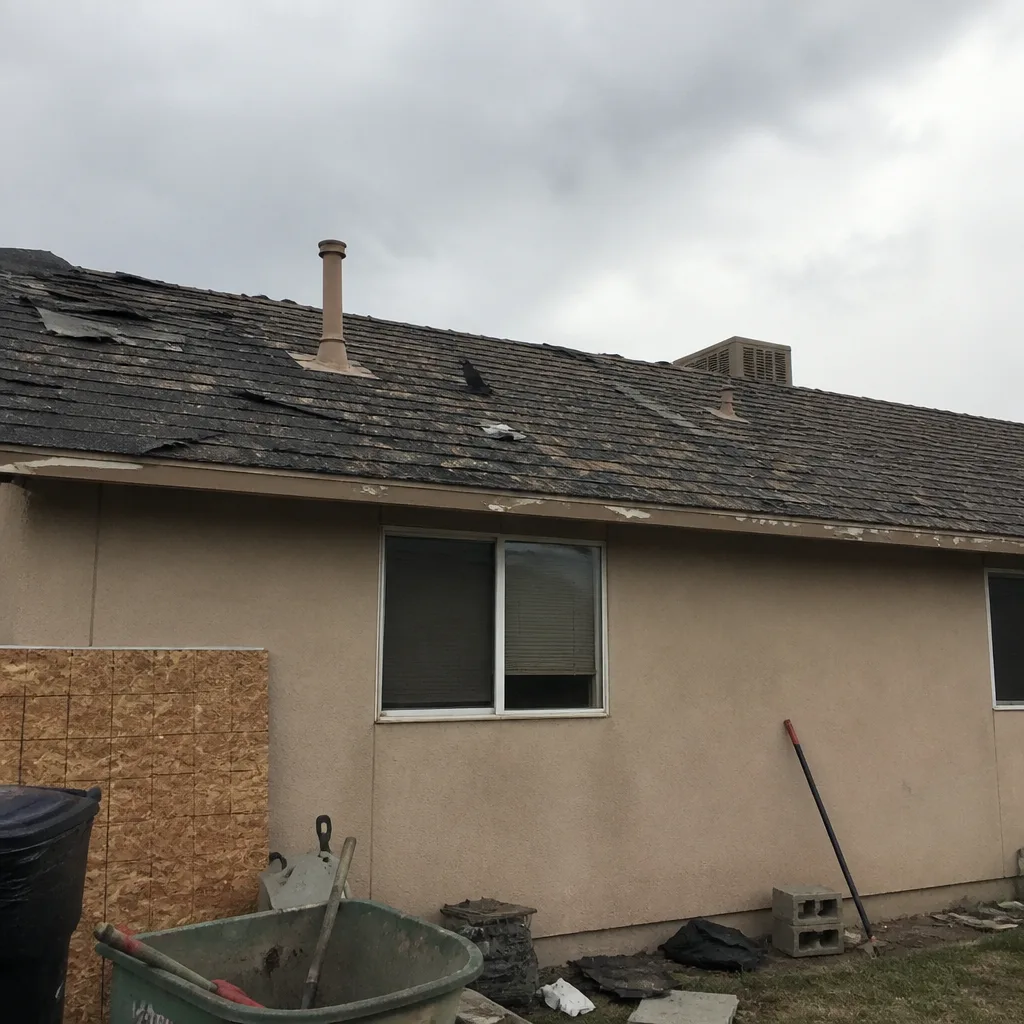 Before
 After
 Before
 After
 Before
 After